 |
|
Thanks to Julio Marchi for this space in MSX All |
|
Tutorial Palette and colors
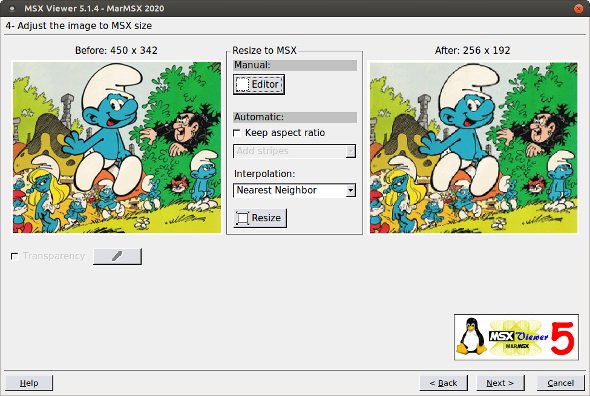
This tutorial aims at presenting the color tools available on MSX Viewer 5.
      Available tools for colors:
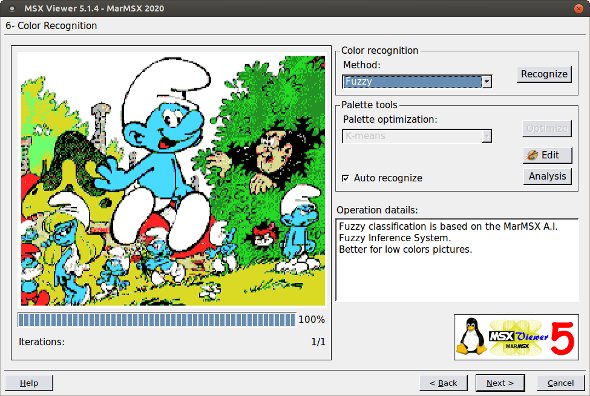
It is possible to automatically find the best palette for a given image, using "k-means" algorithm. For that, click on "optimize". After every palette change, it is necessary to re-adapt the original image to the new palette. So, choose one techinque (never fuzzy) and click on "recognize".  To see the palette result, click on "edit" inside palette box.  As told before, color identification is based on the current palette. In this case, the user may edit and create a customized palette. Let's create a cyan palette.  This is the cyan palette used on the image identification:  Now, open the colors tool by clicking on "analysis".  This tool shows the image histogram. In other words, this histogram is the image colors frequency diagram. Available tools:
 Let's change the Smurfs colors to magenta. For that, select colors 7 and 13 and click on "Change colors".  To accept the changes, click on "Ok". To give up, press "ESC" key.  Important note: What happens if I do not press "recognize" colors after palette edition? When the palette is modified, means that the color information on the modified indexes are changed. Nevertheless, the pixels from the resulting image still unchanged. In that case, the resulting effect is the image object colors modification. In the palette optimization and cyan palette examples, we desired that the original image would fit to the new palettes. In both cases, the color recognition was performed again. If we want to modify intentionally the colors on the resulting image, we must only change the respect palette color index. For instance, we can achieve the same Smurf magenta effect by changing the palette index 7 from cyan to magenta using the palette editor. In that case, afer the palette edition, the recognize button CANNOT be pressed again. If it is pressed, the image is adapted to the new palette and the color effect disappers. So, the analysis tool change colors button does the same thing? No. This tool changes the pixels on the resulting image and keeps the palette untouched. This changing colors method is the only one compatible with MSX 1, where the palette is not present. |
|
Marcelo Silveira
Systems and Computing Engineer Expert in Image Processing and Artificial Intelligence
© MarMSX 1999-2025
|

