Tutorial
V9990 - Image Space
The purpose of this tutorial is to present an example of how to convert an image from your PC to the MSX using the feature of the V9990 Image Space (GFX9000 or VSU).
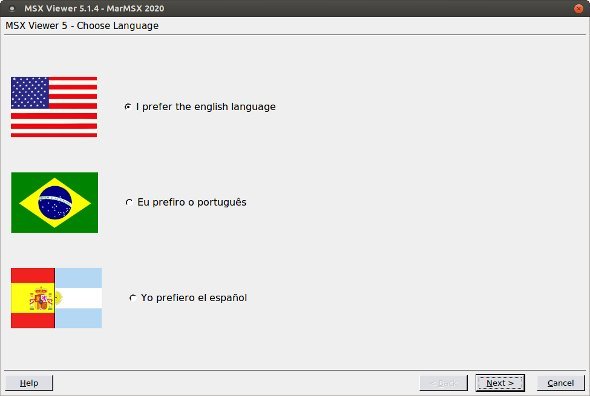
1. Open MSX Viewer 5 and select the language.
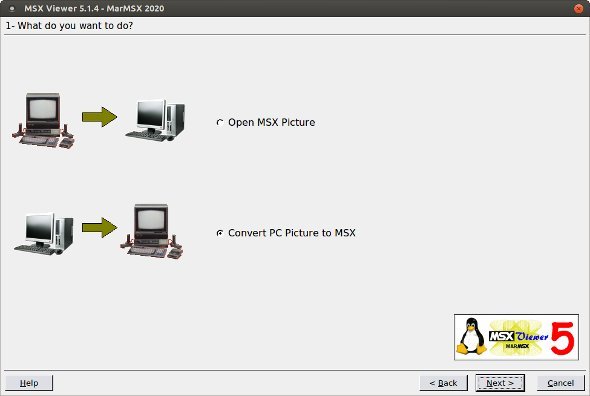
2. Choose the option "convert PC picture to MSX".
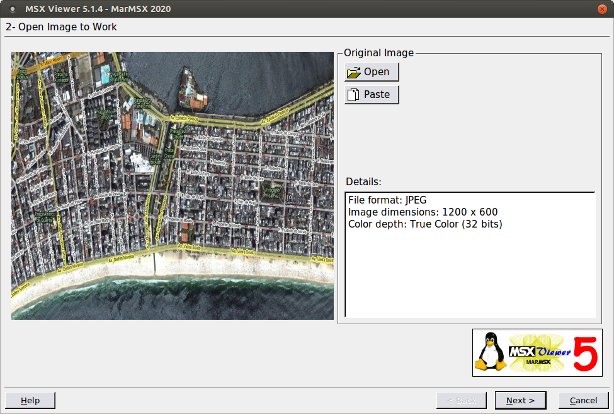
3. Open your image or paste it from the clipboard. In this example, I have already selected the image size proportional to the MSX final size (1200 x 600 is proportional to 1024 x 512). Download the original image here.
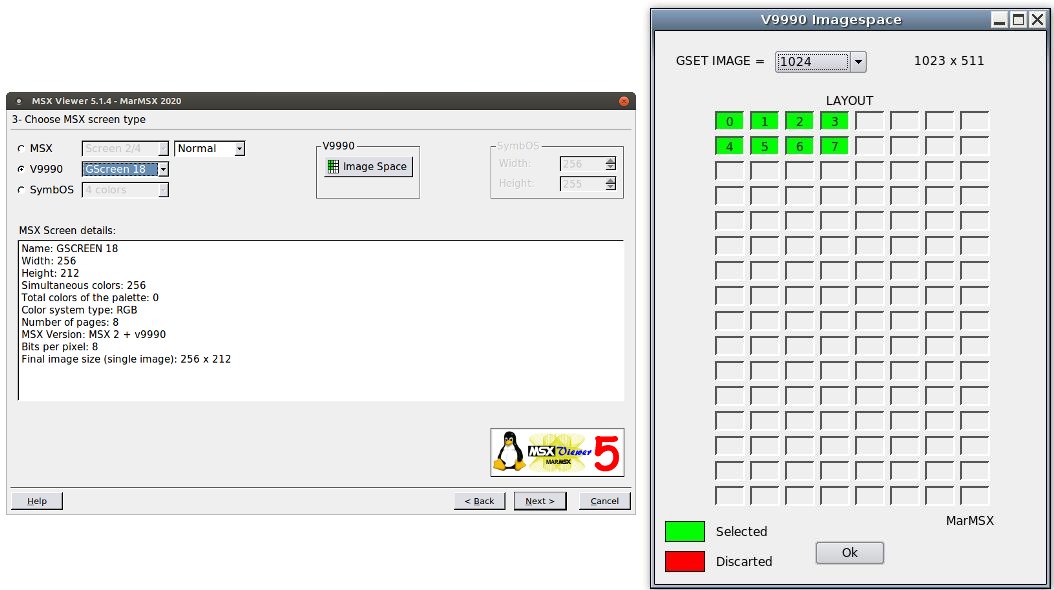
4. Choose GSCREEN 18 and open the Image Space. Select mode 1024 in order to achieve the same layout as shown in the picture blelow (1024x512). Click on Ok.
5. In this step we see a resizing tool. There are two options: resize all image or clip it. As we already have the image with the correct size, simply choose resize.
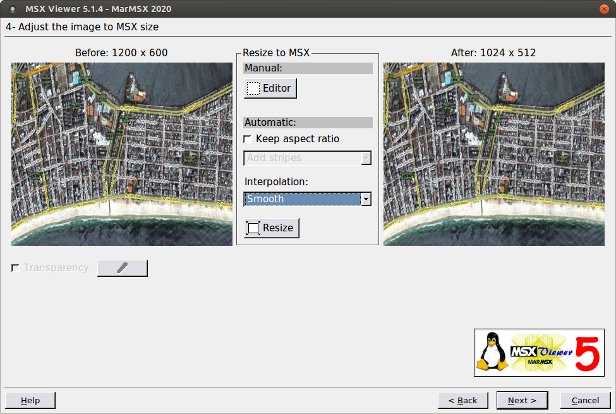
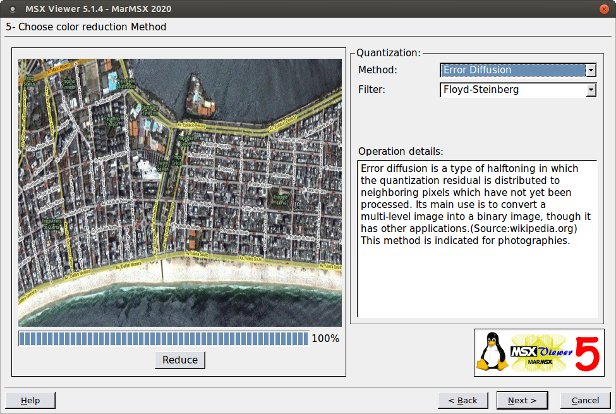
6. The original image has 16 million of colors. Once GSCREEN 18 is like SCREEN 8 and both have 256 colors, we must reduce the number of colors. This step was designed for this kind of screen. Please select Error Diffusion.
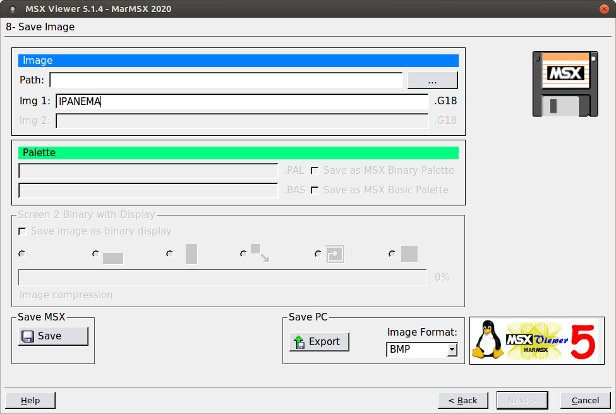
7. Save the image. Its size corresponds to all the available space on Image Space, or 512 kb.
8. The final image will have the aspect of the picture below, where the black lines indicate the screen divisions.
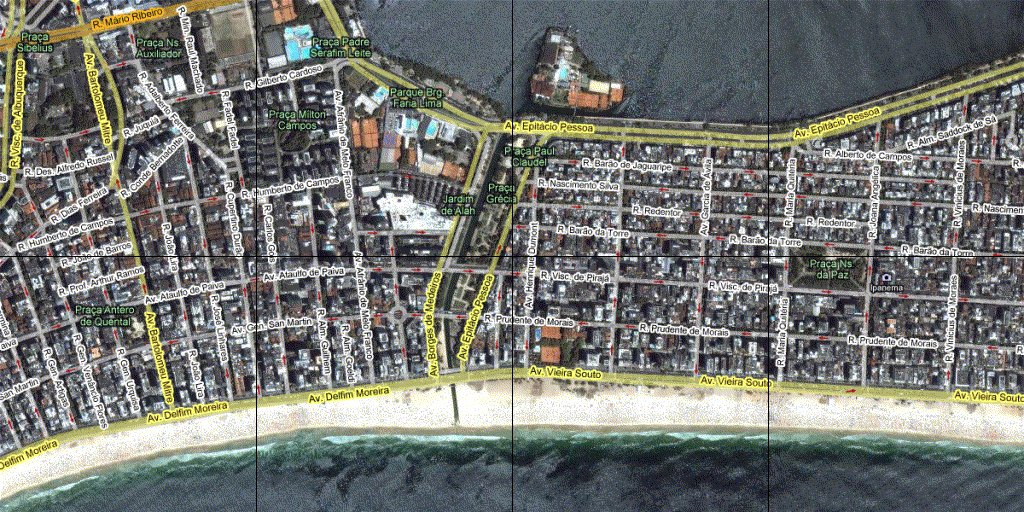
Source: maps.google.com
Get here the file with the image used in this example and a program in "G-Basic" which gives you the opportunity to fly over this image (use the cursors arrows). Also, you will need GBASIC.BIN driver, which may be found here.
|


